Skip to content
How to connect VPN on macOS:
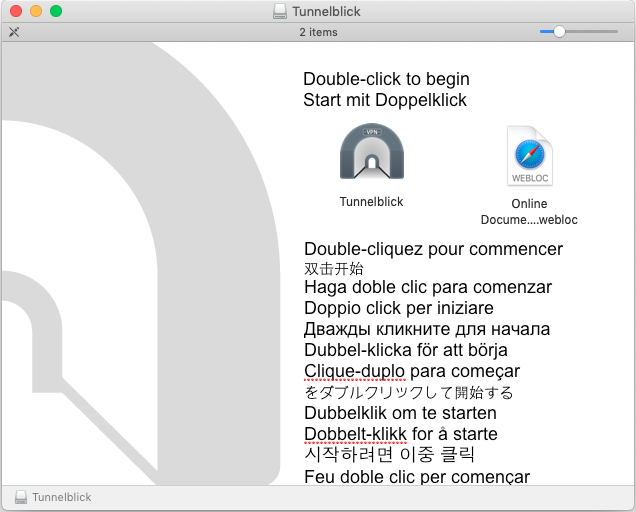
- Install Tunnelblick software: Double click on Tunnelblick installation file then double click on Tunnelblick icon to start the setup.
- Click “Open” to continue the installation.

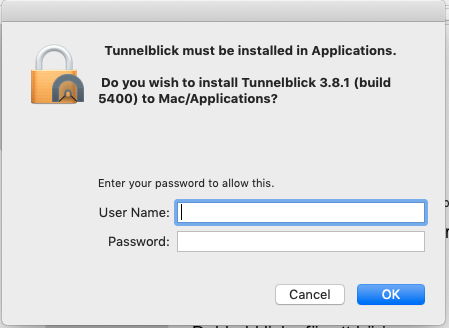
- Type your computer username and password to allow Tunnelblick to be install.
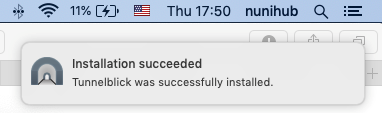
- Tunnelblick was successfully installed then double click on downloaded vpn profile “AIT_Net_vpn_ait_ac_th.ovpn”.
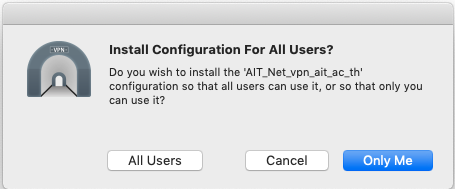
- Choose “All Users” to allow all users in your computer to use this vpn configuration or choose “Only Me” to allow only your user to use this vpn configuration.
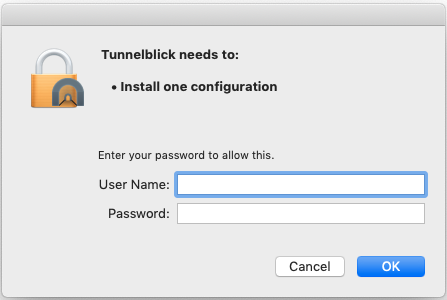
- Type your computer username and password to allow Tunnelblick to make changes on your computer.
- VPN Configuration successfully installed.

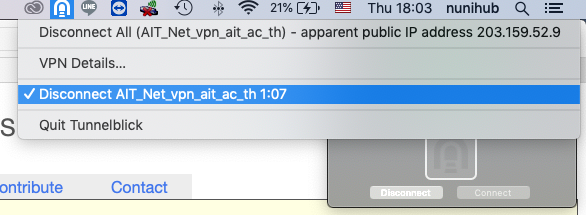
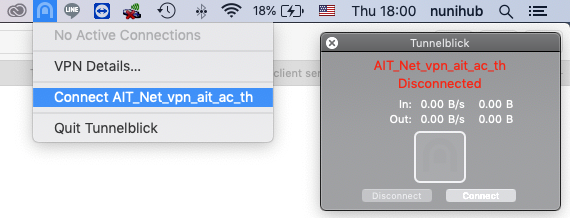
- Start using VPN Connection: Click Tunnelblick icon and choose “Connect AIT_Net_vpn_ait_ac_th”.
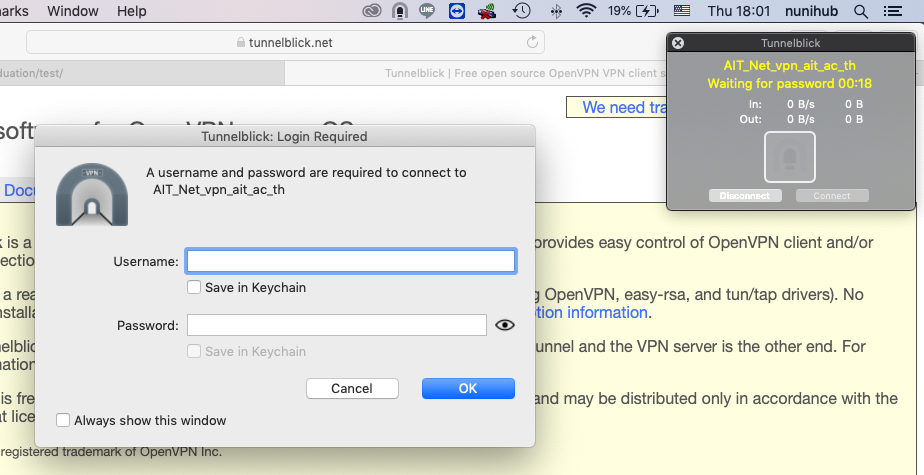
- Type your AIT username and password then click “OK”.
- When the connection is successful, the icon will change from
 to
to 
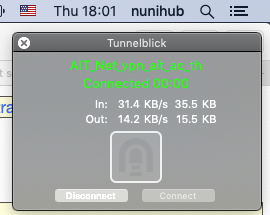
- To disconnect from VPN, click on Tunnelblick icon then choose “Disconnect AIT_Net_vpn_ait_ac_th”.